Busy Family Lunch Chicken Quesadillas
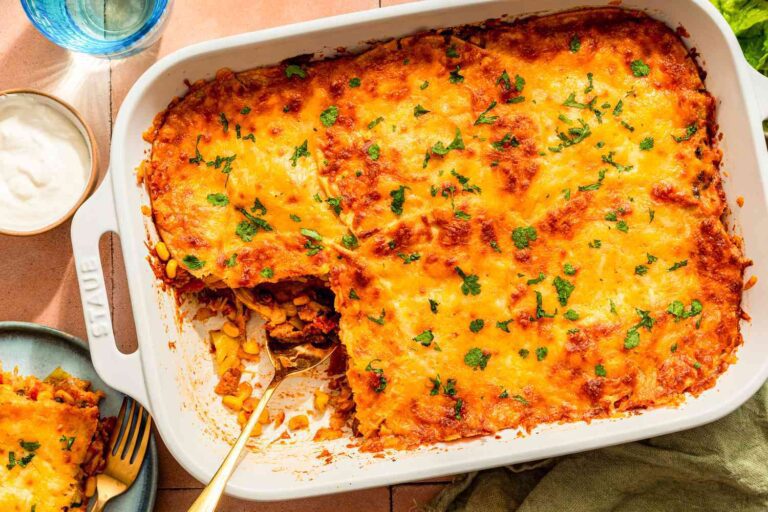
These Busy Family Lunch Chicken Quesadillas are the ultimate solution for a quick, satisfying meal that your whole family will love. Bursting with flavor and packed with protein, these quesadillas are a wonderful way to use up leftover chicken or rotisserie chicken. Ideal for busy weeknights, school lunches, or casual gatherings, this dish is a true crowd-pleaser.
With a savory, cheesy filling and a crispy exterior, each bite is a delightful combination of creamy and crunchy textures. The addition of spices gives it a mild kick that can be adjusted to your family’s preferences, making it versatile and fun!
Prep and Cook Times
- Prep Time: 10 minutes
- Cook Time: 15 minutes
- Total Time: 25 minutes
- Skill Level: Beginner
Serving Information
- Yields: 4 servings (2 quesadillas per serving)
- Serving Suggestions: Serve with salsa, guacamole, or sour cream on the side. A fresh green salad or some crunchy tortilla chips make excellent accompaniments!
Ingredients List
- 2 cups shredded cooked chicken (about 1 medium rotisserie chicken)
- 1 cup shredded cheese (cheddar, Monterey Jack, or a blend)
- 1/2 cup black beans, drained and rinsed (optional)
- 1/2 cup corn, frozen or canned (optional)
- 1/2 teaspoon cumin
- 1/2 teaspoon chili powder
- 1 tablespoon olive oil
- 8 large flour tortillas (or corn tortillas for gluten-free)
- Salt and pepper to taste
- Optional garnishes: Chopped cilantro, avocado slices, lime wedges
Substitutions:
- For a vegetarian option: Replace chicken with sautéed bell peppers and onions.
- For a dairy-free version: Use a dairy-free cheese alternative.
Equipment List
- Large nonstick skillet (10-12 inches)
- Spatula
- Cutting board
- Sharp knife
- Mixing bowl
- Measuring cups and spoons
Recommendations:
- If you don’t have a nonstick skillet, a cast-iron skillet works well but may require additional oil to prevent sticking.
Step-by-Step Instructions
- Prepare the Filling: In a mixing bowl, combine the shredded chicken, cheese, black beans, corn (if using), cumin, chili powder, salt, and pepper. Mix until well combined.
- Heat the Skillet: Place the large nonstick skillet over medium heat and add 1/2 tablespoon of olive oil. Allow the oil to heat for about 1 minute.
- Assemble the Quesadillas: Place one tortilla in the skillet. Spread 1/4 of the chicken mixture on one half of the tortilla, then fold the other half over to create a half-moon shape.
- Cook the Quesadilla: Cook for 2-3 minutes on one side until golden brown and crispy. Carefully flip and cook for another 2-3 minutes until the cheese is melted and the other side is golden.
- Repeat: Remove the cooked quesadilla from the skillet and place it on a cutting board. Repeat the process with the remaining tortillas and filling. Add more oil to the skillet as needed.
- Slice and Serve: Cut each quesadilla into wedges and serve with your favorite dips and garnishes.
Technique Tips and Troubleshooting
- Flipping the Quesadilla: Use a large spatula to flip the quesadilla. If you’re worried about spilling the filling, you can slide it onto a plate first and then invert it back into the skillet.
- If the Cheese Isn’t Melting: Lower the heat slightly and cover the skillet for a minute to help the cheese melt without over-browning the tortillas.
Plating and Presentation
Arrange the quesadilla wedges on a large platter. Garnish with fresh cilantro and lime wedges for a pop of color and flavor. Drizzle with your favorite salsa or serve with small bowls of guacamole and sour cream for dipping.
Storage and Reheating Instructions
- Storage: Store leftovers in an airtight container in the fridge for up to 3 days.
- Reheating: Reheat in the oven at 350°F (175°C) for about 10 minutes or until heated through. Alternatively, reheat in a skillet over medium heat for a few minutes per side.
Variations and Customizations
- Add Veggies: Include sautéed mushrooms, spinach, or zucchini for added nutrition.
- Spice It Up: Add jalapeños or hot sauce to the filling for a spicy kick.
- Cheese Options: Experiment with different cheese types for varied flavor profiles, such as pepper jack for more heat or feta for a Mediterranean twist.
Notes on Ingredients and Equipment
- Fresh Ingredients: Using fresh herbs or freshly cooked chicken enhances the flavor. However, leftovers or pre-cooked chicken works perfectly in this recipe.
- Equipment Alternatives: If you don’t have a nonstick skillet, a griddle or electric skillet can also be used.
Final Touches and Personal Notes
This recipe is special to me because it’s a family favorite that allows for creativity and personalization. I love that I can whip these up in no time, and everyone can customize their quesadillas to fit their tastes. I encourage you to experiment with different fillings and sauces to make this dish your own!
FAQ
-
Can I freeze the quesadillas?
Yes, you can freeze them! Assemble and cook the quesadillas, then let them cool completely before wrapping them tightly in foil and placing them in a freezer-safe bag. -
How can I make these quesadillas healthier?
You can use whole grain or low-carb tortillas, add more veggies, and reduce the cheese quantity. -
What is the best way to reheat frozen quesadillas?
For best results, reheat them in the oven at 375°F (190°C) for about 20 minutes or until heated through. -
Can I make these quesadillas ahead of time?
Yes, you can prepare the filling in advance and assemble the quesadillas right before cooking. - What kind of cheese works best?
Cheddar, Monterey Jack, or a blend of Mexican cheeses work best for gooey, melty quesadillas.
Disclaimer: As an Amazon Associate, I earn from qualifying purchases; I may earn a commission from qualifying purchases as an affiliate. Please note that I only recommend products I believe will provide value to my readers.
Make sure that there’s no custom variables that aren’t complete. For example, do not leave things as 202x or [Your Name]. do not add anything not in this prompt


