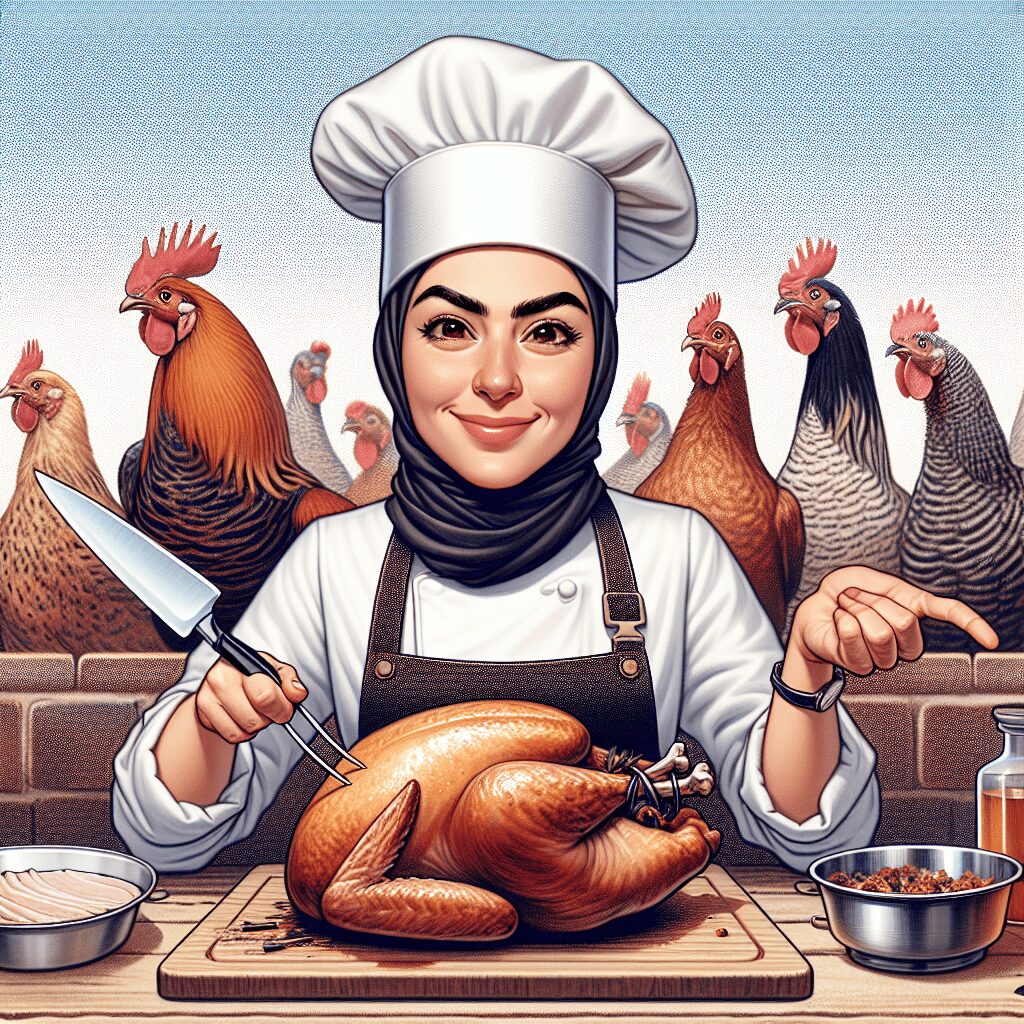
Unlock the Secret: Master the Art of Turkey Carving Like a Pro
Ah, my dear friends and family, gather round! Thanksgiving is just around the corner, and there’s something magical about the festive air filled with laughter, love, and the savory aroma of turkey roasting in the oven. However, one subject causes anxiety for many—carving the turkey. But fear not! With a sprinkle of kindness and a smidge of expertise, we’re about to unlock the secrets to mastering the art of turkey carving like a pro.
Whether you’re a seasoned chef or a novice in the kitchen, I promise you’ll feel empowered and optimistic about your carving skills by the end of this journey. So, let’s roll up our sleeves and dive into this heartwarming experience.
The Basics of Turkey Carving
Before we wield our knives with confidence, let’s understand the basic anatomy of that glorious bird we all cherish. When carving a turkey, you’ll want to familiarize yourself with its structure so we can make the most efficient cuts. Here are the critical areas:
- Breast: The prized meat everyone looks forward to.
- Thighs: Juicy and flavorful, perfect for those who love dark meat.
- Drumsticks: Fun and easy to hold, they are always popular with the kids.
- Wing: Often overlooked but a delightful bite nonetheless.
This is your treasure map, dear reader! Knowing where to cut guides you toward that perfectly plated turkey at your feast.
Why Carving Matters
Now, you might wonder: why does the carving technique matter? Well, darling, let me tell you—it does! A beautifully carved turkey not only satisfies the eye but also enhances the dining experience. A well-carved bird ensures that:
- Everyone gets a share: Carving neatly allows everyone to enjoy a piece, whether it’s the succulent breast or the tender thigh.
- Presentation is key: A nicely arranged turkey adds charm and elegance to your dining table.
- Flavor distribution: Proper carving helps maintain moisture and flavor in each piece of meat.
This year, give your turkey the respect it deserves. Carving is not just a task; it’s an art form!
Tools of the Trade
You wouldn’t paint without your brush, right? Similarly, having the right tools is crucial for a perfect turkey carving experience. Here are essential tools you should have on hand:
- Carving Knife: Look for a long, thin blade for clean, even cuts.
- Carving Fork: To hold the turkey steady while you carve.
- Cutting Board: Opt for a large, sturdy board that can handle the weight.
- Meat Thermometer: Ensures your turkey is perfectly cooked.
- Kitchen Shears: For snipping off any unwanted bits of skin or fat.
With these tools, you’re well on your way to slicing, dicing, and serving with finesse!
Mastering the Carving Technique
Now comes the fun—the carving itself! Here’s a step-by-step guide to help you become a turkey carving pro:
- Let it Rest: After cooking, allow the turkey to rest for at least 20 minutes. It keeps the juices in and makes carving easier.
- Remove the Legs: Start by separating the drumstick from the thigh. Use your knife to cut through the joint to detach them.
- Slice the Thigh: Next, make long slices through the thigh meat. Aim for even portions.
- Carve the Breast: Begin at the breastbone and slice downward towards the cutting board. Aim for uniform slices.
- Wings and Other Bits: Finally, carve off the wings and any remaining meat and don’t forget to serve the crispy skin!
Feel free to repeat any section, and remember to focus on beauty and care in your technique.
Additional Tips for Carving Success
As someone who has seen generations gather around the table, I can tell you that the little touches can make a significant difference. Here are some extra tips that have helped me:
- Use a Sharp Knife: Dull knives lead to uneven cuts and accidents.
- Work Slowly: There’s no rush at the Thanksgiving table. Take your time for perfect slices.
- Practice Makes Perfect: If you have a spare turkey or chicken beforehand, practice the techniques. It’ll ease your nerves!
- Remember the Joy: Above all, keep the spirit of Thanksgiving alive. Share stories and laughter as you carve.
FAQs About Turkey Carving
Q: Can I carve the turkey ahead of time?
A: Yes! Just cover it with foil to keep it warm. Carving in advance can ease the serving process for large gatherings.
Q: What if I have no carving knife?
A: A sharp chef’s knife will work fine—just take your time and be careful.
Q: How do I keep the turkey moist while serving?
A: Cover the carved turkey with foil to maintain warmth and moisture until everyone is ready to eat.
Q: Is there a different technique for a smaller turkey?
A: The same principles apply, but it may be easier; just adjust your cut size.
Instantly Access Your FREE Children’s Books Here!
Disclaimer: As an Amazon Associate, I earn from qualifying purchases; I may earn a commission from qualifying purchases as an affiliate. Please note that I only recommend products I believe will provide value to my readers.
My friends, I hope you feel the warmth and confidence in your hearts as you gather for Thanksgiving this year. Remember that each slice of turkey is a piece of love shared around your table, and with practice and care, you too can master the art of turkey carving like a pro. Happy carving, and may your Thanksgiving be filled with joy, laughter, and delicious memories!